Showing posts with label music. Show all posts

Monday, April 18, 2011

frustrations galore

Just a quick whiny post. 
Whiny, sleep-deprived and a little bit on-edge. 


This weekend/last 4 days has been INSANE with busyness. We've been up to things here at the ranch, and I have a lot to share... if only I hadn't, in the craziness of these days, inadvertently misplaced the camera chord... 
(ARRRRGGHHHH!!!!) a camera full of awesome, un-downloadable photos... not the greatest thing. 


so... as I'm stuck holding onto these posts till i can share them properly, here are some pretty things to look at:
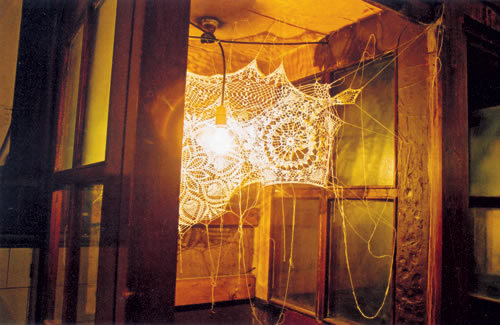

## crocheted cobwebs.


## Feathers in glass bubbles. These are so very nice, I think. And I'm a little dazzled at how they manged to get them in there... 


## Check out the Tallest tree in the world... twice the Statue of Liberty!!


## Make this cute Yarn Circle Garland with Hands On: As We Grow


## If you don't know what the word  Mamihlapinatapai means... check it out here. I've determined to use it at least once this week. 

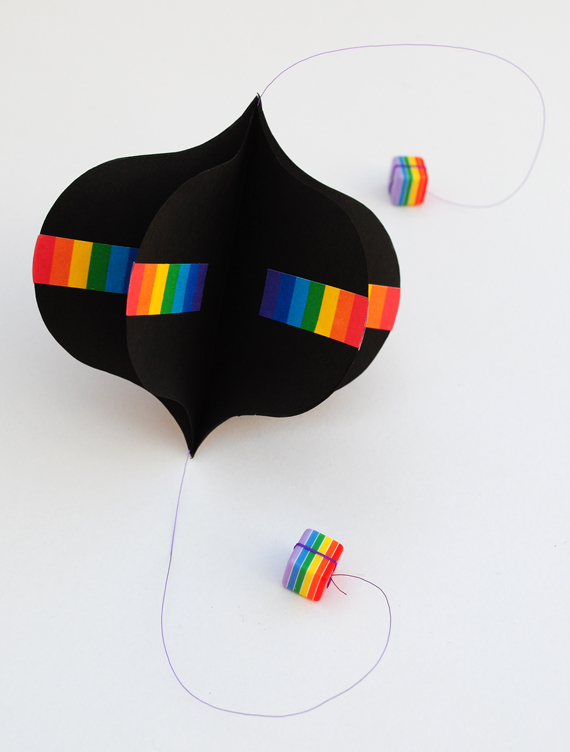
## I'm kind of in love with Mini Eco, a great little site with tons of easy, fun, kid friendly activities. You will not be disappointed. 


## And, finally, I give you THIS. Enjoy. 


Here's hoping the camera chord makes an appearance today... or things might get a little slow around here.

Frantic Searching and Fleet Foxes,
-shawnacy

Monday, April 4, 2011

The Z Was Zapped, Yarn Letters, and The Alphabet Signs Song

I've mentioned before how much our family loves all of the Chris Van Allsburg books. (<-- Check out the link! His site is super cool!)
And when an idea popped into my head for an Alphabet Book craft, I couldn't think of a better book to use than his "play in 26 acts," The Z was Zapped


It's 26 of his intensely beautiful illustrations depicting each letter succumbing to an unfortunate demise.  Here are a few of the pages, to whet your curiosity.


So. After reading of the untimely end of the alphabet, we set out to create (rather than destroy) our own letters. 

I posted a letter craft on This edition of friday finds not too long ago, and was pretty excited to try it out. 


So, we rounded up some old wire hangers, 
a pair of wire snips,
a pair of pliers,
some tape,
glue,
and yarn.

I let the kids rummage through my stash, and pick out something that would make them happy. 

Then I set to work shaping the letters. I used my hands mostly, but brought the pliers in once or twice to make a neater corner, or flatten out the ends. 

Then I handed the letters (the first letter of each of their names) to the kids and helped them tie one end of the yarn to the letter at the topmost corner (or the closest I could get to the top, anyway) 

After that it was just a matter of wrapping the letters the way they wanted. (We used the glue on the sides to help keep the yarn in place.) This is where their personalities totally shone through. 

Max's letter was a beautiful mess. He also decided he wanted to attach an ink pen to the middle of his letter... (??) Odd things, bright red yarn, that, at the end, turned out looking like some sort of awesome spiderweb... that's my maxy. 


Annika's was neat and tidy. She got a little frustrated when the yarn got out of line, so I helped her get them all nice and straight. I love how hers kind of came out looking like a weird pair of pants. :)


And Owen spent most of the morning making his O into a rainbow-colored dreamcatcher. He wrapped the entire O in yarn, and then criss-crossed the yarn through the center to create the net-like part. Then he went out in the backyard to find some cool rocks, and hung those from the bottom of the creation. I love when the kids take a project and run with it!


While we were crafting, we made sure to talk about the letters, and their sounds, and to sing this little song alphabet song I made up to teach the signs for each of the letters. Signing the letters is very tactile, and it worked wonders with Owen and Max who have a hard time learning visually, when they were young. Here's the tune. (it's Jesus Loves Me) It incorporates the letter name, the sound, and the sign. 


** If you or your child don't know the signs for the letters, take a quick moment to learn. Not only is it helpful for learning the letters, but I use it almost every day when the kids ask me how to spell things. (They always seem to need to know how to spell 'hammerhead' or 'extreme' when I'm on the phone, or in the middle of a conversation. So I can just sign it to them, and reach a new totally awesome level of multitasking! Woo Hoo!!) 

Here's one final look at the letters hanging up in their new homes! 


Great Job Kiddos!


linking up to:

We Play


Shibley Smiles


play academy

Friday, March 4, 2011

30 days of lists - Playlist!!


MusicPlaylistView Profile
Create a MySpace Music Playlist at MixPod.com


so. guess what today's prompt was??? heh. 
today's playlist. 

these are my creative-moment songs. other playlists for today include 'toddler playtime', quiet 'no-words' music (which is almost all Yann Tiersen)  and great worshipy music by Fernando Ortega

and my little list: 


happy friday all, 
- shawnacy

Tuesday, February 22, 2011

teaching toddlers to sew?

annika (and the boys too) are ALWAYS wanting to sew and 'knid' (crochet in annik-ese) with me. which is great and makes my heart happy, but .... it's not often easy. or pretty. 
so when i saw THIS from the fabulous people over at tinker lab, i got really excited. 
a homemade, upcycled sewing (or 'knidding') board! 
how great is that!!!

we're doing this today. 


and here is the how-to:

Here’s what we used to make it happen…
  • Cardboard Box (recycled from a package)
  • Mesh from a bag of sweet potatoes
  • Stapler
  • Scissors
  • Exacto knife
  • Embroidery Needle (They’re big, with big eyes, and perfect for small hands. You can also get them with blunt tips.)
  • Embroidery Thread (yarn would also work well)
I cut the cardboard box using scissors and an Exacto knife. If you don’t have an Exacto, you could most likely use scissors. The piece of mesh is about 1.5 inches larger in width and length than the piece of cardboard, and wepulled it taught and stapled it down.
It was time to pick our thread. Well, not quite yet. First we pursued the enjoyable task of removing paper wrappers from ALL of the embroidery floss.
We had lots of colors to choose from.
I gave a brief demonstration on how to pull stitches through the fabric and then held the frame while my daughter practiced her first stitches. The mesh was super for this on multiple levels: it’s strong and could withstand a lot of tugging, and it’s “transparent” which allowed N to really see what she was doing.
A little practice and then she was on her own. She picked up on it pretty quickly, although she wasn’t the least bit interested in following any dusty old sewing rules, and happily wrapped her stitches around the frame.
Once I saw that this was a worthwhile project, I forked out a whole dollar and purchased an embroidery hoop. This time I cut a piece of cheesecloth and stretched it in the hoop. Because it has big holes and it’s more or less see-through, I liked the idea of the cheesecloth, but it was difficult to work with and ripped easily. Lindsay at The Filth Wizardry suggests using stretchy and soft shelf liner, and I just picked some up at the hardware store — can’t wait to try this.

Here’s the bounty of preschool sewing projects that I promised. There are so many good ideas out there!!

looks pretty easy, and like we could get a lot of mileage out of an old potato sack and some cardboard.

and while you 'knid' (or when you're ready for a break) put this on and dance around.

show your kids (and friends and family) some love today!