Showing posts with label recycle. Show all posts

Friday, April 1, 2011

Friday Finds

Happy Friday (and happy foolish fun day, as well!) 


Sooo, I'm too excited to show you the finds for this week to engage in any lame small talk. Here goes:


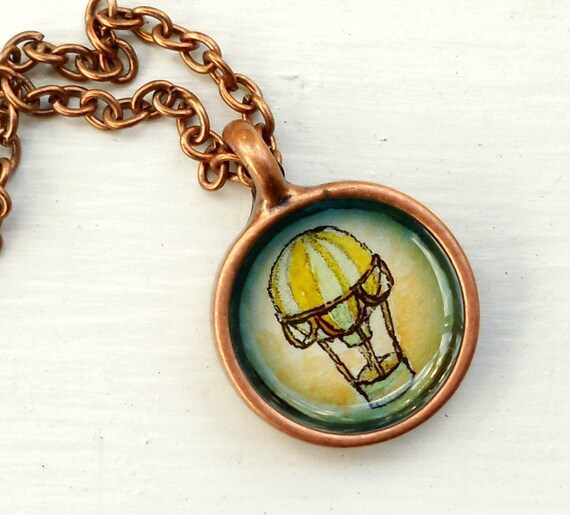
I HAVE to share some of the gorgeous and fun creations of Tuckoo and Moo Cow!
Such as... the Killer Bunny Necklace!

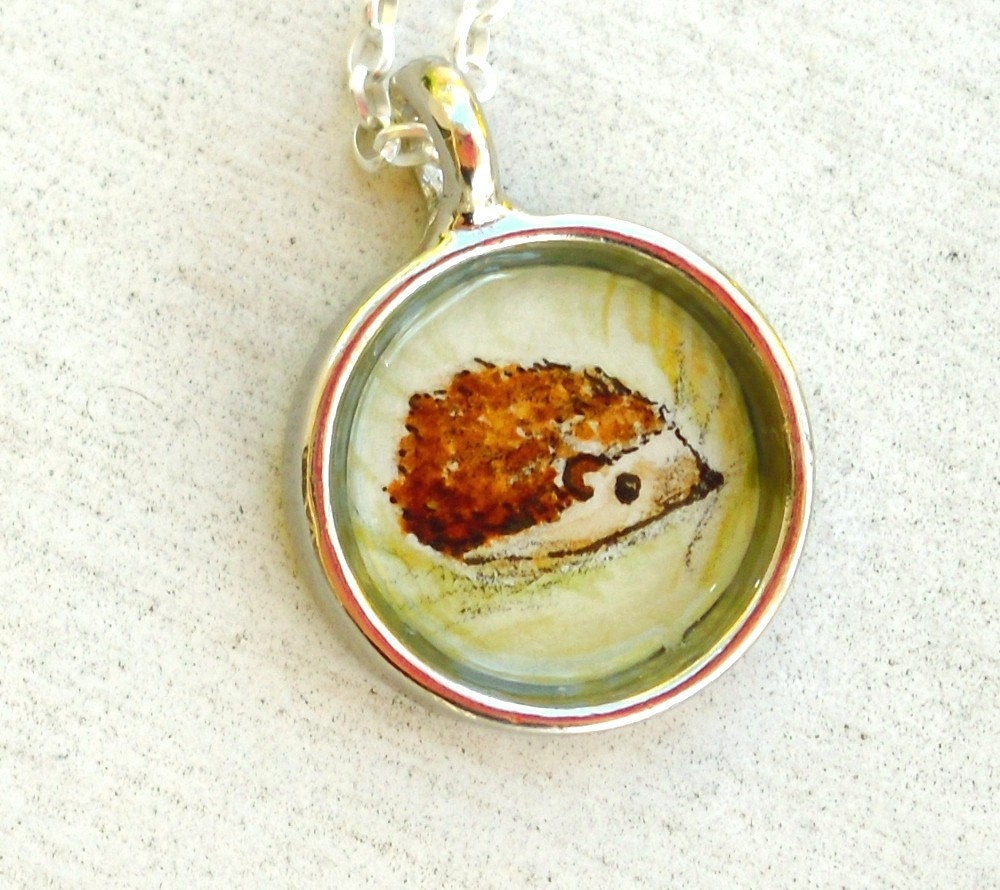
And this adorable hedgehog... and SO MANY MORE! Seriously, check these out. I am completely smitten with every single one. 


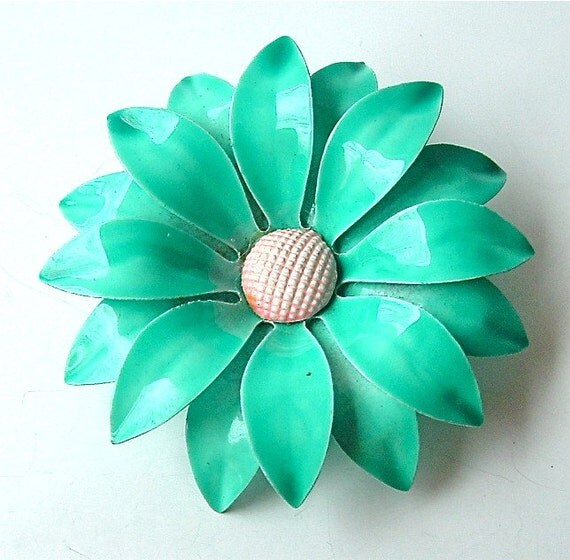
or check out this lovely brooch from Kiamichi7


alright, enough jewels. 

Tale a moment to fall in love with Kusmi Teas. They are one of my favorite brands, organic and delicious. 


And pop over here to watch focused sunlight melt rock. For reals. 


Lastly, I love this idea for a vertical pallet garden from life on the balcony. I happen to have two perfect pallets in the backyard that would be perfect for this project. Expect to see this coming ... eventually. 


and now, we're off to go hiking (it's finally SUNNY!!!) and then home for an awesome April Fool's dinner! 
Have a great one, folks,
-shawnacy


Tuesday, March 8, 2011

Bread-Bag Plarn tutorial!

woo hoo! tute-tute-tuesday!


i love finding fun new ways to recycle and re-use. i stumbled across this a while ago, and have been hoarding plastic bread-bags, and dreaming up all sorts of cool things to make with them. 


plus, it's REALLY simple:
(um... disclaimer... i'm feeling kind of silly...)


 first, you're going to need some bread bags. save them, beg them from friends... just try not to steal them from the grocery store shelves.


when you have a fair number of bags, take one and lay it out flat. (note: don't forget to take the bread out first. seriously. you have no idea the number of bread-related fatalities that have come from irresponsible plarn-making)


fold it in half, the long way.
(i can feel your burgeoning excitement)


and in half the long way, again. 
(the tension is mounting)


cut off the very top piece (where you twist the bag to close it) and the very bottom piece (where it's all folded over extra thick). you won't be using those.  


then cut your strip into pieces roughly the width of your finger. (don't try this blindfolded, or after consuming copious amount of alcohol. it might be fun and make you feel dangerous, but think about how hard it would be to fingerpaint with only four fingers... yeah. safety first) 


you should get pieces that look roughly like these. (tiny little rectangles of plastic that used to know what their purpose was... do you think they're nervous? take a moment to reassure them that everything's going to be ok)


and, when opened up look like this. circles of plastic. (twist them like a figure 8 to make an infinity sign, then take a moment to contemplate the universe.) 


do this for all the bags you collected, and throw the pieces into a bowl or bag to keep them together.  (they don't like to be alone) 


mix them up a little. (the kids find it helpful to jump a little on your tippy-toes and yell 'whee!' when you do this. this is not necessary. however, i'm sure a little mingling music wouldn't be unappreciated.)


choose two random pieces from the bowl (perhaps holding a wooden spoon as a microphone and announcing 'yellow piece... coooome oooon dooowwnn!!,' as you do so.)


fold one piece over the other (after making the proper introductions first, of course, and preferably while singing 'the hokey pokey')


then pull through. (firmly, to show that you're in charge, but not so roughly that you cause pain. we're here to help, not hurt.) this is how you connect the circles. don't they look like they're holding hands? (happy sigh, it's so nice when these things work out.)


keep adding on (note: this string does not work well with soup-can telephones... just a heads-up).


don't give up till all your circles are linked up. (you might want to stop for a cliff bar if you need to, to keep your energy up. or a tiramisou. there is no shame in this)


finally, roll it up neatly and start making stuff!
(and just think, you were going to throw that away!) even if you don't have a project in mind, try it out. give your bags a new chance at life, use it to hang your clothes outside; or, you know, just have some handy, in case you're ever called-upon to wrestle a bad guy to the ground, and need something with which to hog tie the scoundrel. 


i've been using it to make these market or beach bag totes, which you can find at The Shop.


and i currently have plans to make a floor mat. how cool would that be! it's kind of squishy-feeling, and plastic, and colorful... great for muddy feet, or for just getting out of the shower... i'll let you know how it all pans out.


thanks for playing, today. 
and tune in - book picks for today coming soon. 

- shawnacy

ps: click on over here to see what everyone else is making!


Party Button


Wednesday, March 2, 2011

literacy - fun with junk mail

a little while back, i shared THIS LINK from childhood 101, and today was the perfect day for us to try it out.

we cut out pictures of annika's favorite foods from a number of grocery store circulars we had around the house. (we save them to line fitz the guinea pig's cage). 
lesson 1: hand-eye / small motor coordination exercise in cutting. 

then, i had her sort the foods into groups: fruit, meats, vegetables, drinks, etc. and we laid out the food groups on different shelves of our bookshelf units. 


lesson 2: sorting

then we glued the food pics to some cardboard cut from an applesauce box we were throwing out. we threw in a market basket for good measure. 


lesson 3: gluing and re-purposing


after that, of course, we had to set up the store. cash register, paper and pencils, play money, coffee mug, telephone, and eventually a potted plant, and a bunch of candles found their way to the store counter. "so it will be pretty and people will want to shop here," says the proprietress. :)


lesson 4: ... marketing? 

and then she got her first customer. Owen stepped in to buy a book, a bunch of grapes, and a boquet of flowers for his mama. 
Annika checks the price. 


Counts the money, and puts it in the till,


and fielded more customers. (i love that, along with their green groceries, they all bought books!)


lesson 5: money and counting.


she made sure to write everyone a receipt. 


lesson 6: writing 


end of the day, we had a great time, honed some important skills, and have everything we need to do this again!


Tuesday, February 22, 2011

teaching toddlers to sew?

annika (and the boys too) are ALWAYS wanting to sew and 'knid' (crochet in annik-ese) with me. which is great and makes my heart happy, but .... it's not often easy. or pretty. 
so when i saw THIS from the fabulous people over at tinker lab, i got really excited. 
a homemade, upcycled sewing (or 'knidding') board! 
how great is that!!!

we're doing this today. 


and here is the how-to:

Here’s what we used to make it happen…
  • Cardboard Box (recycled from a package)
  • Mesh from a bag of sweet potatoes
  • Stapler
  • Scissors
  • Exacto knife
  • Embroidery Needle (They’re big, with big eyes, and perfect for small hands. You can also get them with blunt tips.)
  • Embroidery Thread (yarn would also work well)
I cut the cardboard box using scissors and an Exacto knife. If you don’t have an Exacto, you could most likely use scissors. The piece of mesh is about 1.5 inches larger in width and length than the piece of cardboard, and wepulled it taught and stapled it down.
It was time to pick our thread. Well, not quite yet. First we pursued the enjoyable task of removing paper wrappers from ALL of the embroidery floss.
We had lots of colors to choose from.
I gave a brief demonstration on how to pull stitches through the fabric and then held the frame while my daughter practiced her first stitches. The mesh was super for this on multiple levels: it’s strong and could withstand a lot of tugging, and it’s “transparent” which allowed N to really see what she was doing.
A little practice and then she was on her own. She picked up on it pretty quickly, although she wasn’t the least bit interested in following any dusty old sewing rules, and happily wrapped her stitches around the frame.
Once I saw that this was a worthwhile project, I forked out a whole dollar and purchased an embroidery hoop. This time I cut a piece of cheesecloth and stretched it in the hoop. Because it has big holes and it’s more or less see-through, I liked the idea of the cheesecloth, but it was difficult to work with and ripped easily. Lindsay at The Filth Wizardry suggests using stretchy and soft shelf liner, and I just picked some up at the hardware store — can’t wait to try this.

Here’s the bounty of preschool sewing projects that I promised. There are so many good ideas out there!!

looks pretty easy, and like we could get a lot of mileage out of an old potato sack and some cardboard.

and while you 'knid' (or when you're ready for a break) put this on and dance around.

show your kids (and friends and family) some love today!